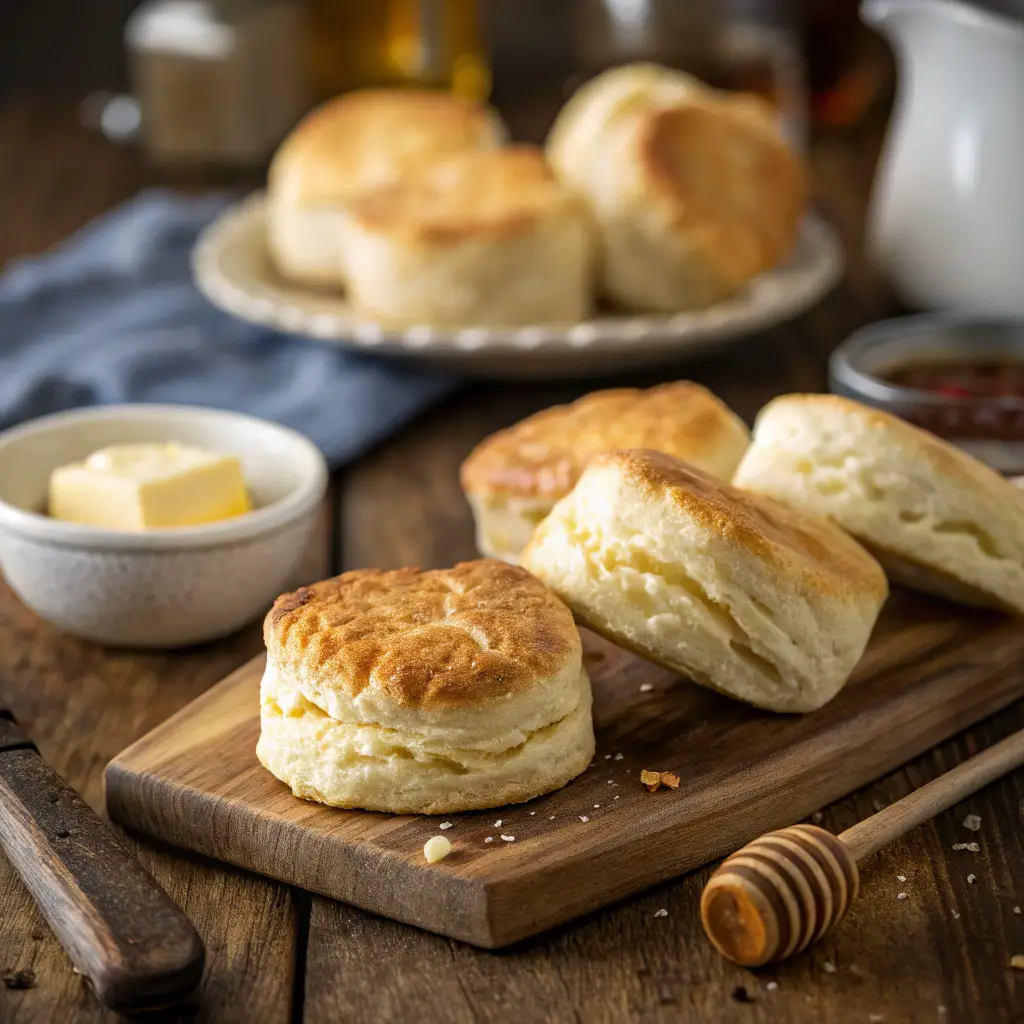
Biscuits—warm, flaky, buttery—are a staple of American comfort food. But who has time to crank up the oven and wait? That’s where the air fryer swoops in like a kitchen superhero.
Making air fryer biscuits is a game-changer. They cook faster, stay golden and crispy on the outside, while the inside stays soft and fluffy. And the best part? No preheating a big ol’ oven or sweating over a hot stove. Just pop them in, and boom—perfect biscuits in minutes.
In this guide, we’re going to cover everything you need to know about making biscuits in an air fryer. We’ll talk about why this method is awesome, break down the ingredients, give you a step-by-step cooking guide, and even throw in some fun variations. Plus, we’ll tackle common biscuit fails (because, let’s be real, we’ve all had a dough disaster or two).
So, grab your air fryer, some butter, and let’s get baking!
Table of Contents
Part 1: The Rise of Air Fryer Biscuits – A Modern Twist on a Classic
The Popularity of Air Frying
Air fryers have taken over kitchens everywhere, and it’s no surprise. They’re like a mini magic oven that uses hot air to make everything crispy without drowning food in oil. Fries? Crispy. Chicken? Juicy. And now, biscuits? Fluffy perfection.
Ever since air fryers hit the market, folks have been experimenting with all sorts of recipes. And biscuits? They just make sense!
- No preheating a big oven. (Let’s be honest, nobody wants to heat up their whole kitchen just for a few biscuits.)
- Quicker cooking. (We’re talking 8-10 minutes instead of 15-20!)
- Less mess. (No need for baking sheets or parchment paper everywhere.)
Honestly, once you try making biscuits in an air fryer, you may never go back.
Why Biscuits in an Air Fryer?
Good question! I mean, why mess with tradition, right? But hear me out.
- That golden crust – Because of the way air circulates inside, biscuits crisp up beautifully on the outside.
- Soft, pillowy centers – No more worrying about biscuits that turn into hockey pucks.
- Perfect for small batches – Sometimes, you just want a couple of biscuits, not a whole dozen.
- Great for canned, frozen, or homemade dough – No matter how you like your biscuits, the air fryer works its magic.
And let’s not forget the taste. Air-fried biscuits have a slightly different texture than oven-baked ones. They’re fluffier but still get that buttery crisp that makes them irresistible.
Oh, and if you’re thinking, “Will this work with my grandma’s famous biscuit recipe?” – the answer is YES. Just a few small tweaks, and you’ll be good to go.
Part 2: Crafting the Perfect Air Fryer Biscuit: Ingredients and Preparation
Essential Ingredients for Homemade Biscuits
Alright, let’s get down to the nitty-gritty. Making homemade air fryer biscuits is easier than you might think, and it starts with just a handful of simple ingredients:
- All-Purpose Flour: This is your base. It’s versatile and gives the biscuits their structure.
- Baking Powder: The magic leavening agent that makes your biscuits rise and become fluffy.
- Salt: Enhances flavor. Even a pinch can make a difference.
- Cold Unsalted Butter: Key to flaky layers. Keeping it cold ensures it melts during cooking, creating pockets of air.
- Cold Buttermilk: Adds a tangy flavor and reacts with the baking powder to help the biscuits rise.
Why Cold Ingredients?
Keeping your butter and buttermilk cold is crucial. When cold butter melts during cooking, it releases steam, creating those delightful flaky layers we all love in a biscuit. Warm butter can start melting into the dough too early, resulting in denser biscuits.
Step-by-Step Preparation Guide
Ready to roll? Here’s how you can whip up these biscuits:
- Mix the Dry Ingredients
- In a large bowl, whisk together the flour, baking powder, and salt until well combined.
- Incorporate the Butter
- Take your cold butter and cut it into small cubes.
- Add the butter cubes to the dry mixture.
- Using a pastry cutter or your fingers, work the butter into the flour until the mixture resembles coarse crumbs.
- Add the Buttermilk
- Pour the cold buttermilk into the mixture.
- Gently stir until the dough just comes together. Be careful not to overmix; it’s okay if the dough is a bit shaggy.
- Form the Dough
- Turn the dough out onto a lightly floured surface.
- With floured hands, gently press the dough together into a rectangle about 1-inch thick.
- Fold the dough over onto itself in thirds (like folding a letter).
- Rotate the dough 90 degrees and repeat the folding process once more.
- This folding technique helps create those flaky layers.
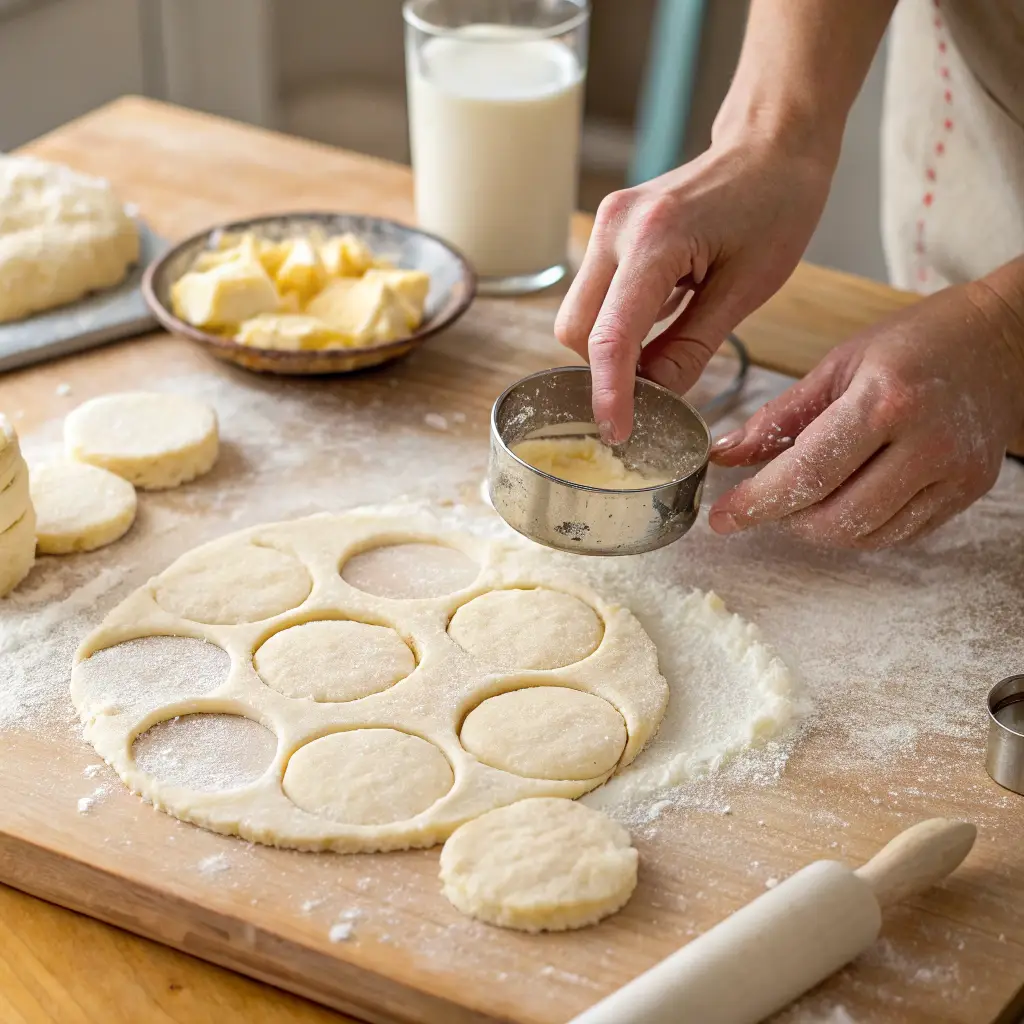
- Cut the Biscuits
- Pat the dough out to a 1-inch thickness.
- Using a round biscuit cutter (about 2.5 inches in diameter), cut out biscuits.
- Press straight down without twisting to ensure the biscuits rise evenly.
- Gather any scraps, gently press them together, and cut out additional biscuits.
- Prepare for Air Frying
- Place the cut biscuits on a plate or baking sheet.
- Pop them into the refrigerator for about 10-15 minutes.
- Chilling the dough again helps firm up the butter, leading to flakier biscuits.
A Few Tips:
- Don’t Overwork the Dough: Handling the dough too much can develop gluten, making the biscuits tough. Mix until just combined.
- Use a Sharp Cutter: A sharp biscuit cutter ensures clean edges, which helps the biscuits rise properly.
- Keep It Cold: If at any point the dough feels warm or the butter starts to melt, pop it back in the fridge for a few minutes.
And there you have it! Your dough is prepped and ready to be transformed into delicious, flaky biscuits. Next up, we’ll dive into the air frying process to get these beauties cooked to perfection.
Part 3: Air Frying Techniques: Achieving Golden, Flaky Biscuits
Setting Up Your Air Fryer
Alright, you’ve got your dough ready—now it’s time to get that air fryer prepped. Here’s how to set the stage for biscuit perfection:
- Preheat the Air Fryer
- Why Preheat? Preheating ensures that your biscuits start cooking immediately, leading to a better rise and texture.
- How To: Set your air fryer to 390°F (200°C) and let it run empty for about 5 minutes. Plated Cravings
- Prepare the Basket
- Prevent Sticking: Lightly spray the air fryer basket with a non-stick cooking spray or line it with perforated parchment paper. This step ensures your biscuits won’t stick and makes cleanup a breeze.
Cooking Process
Now, let’s get those biscuits cooking:
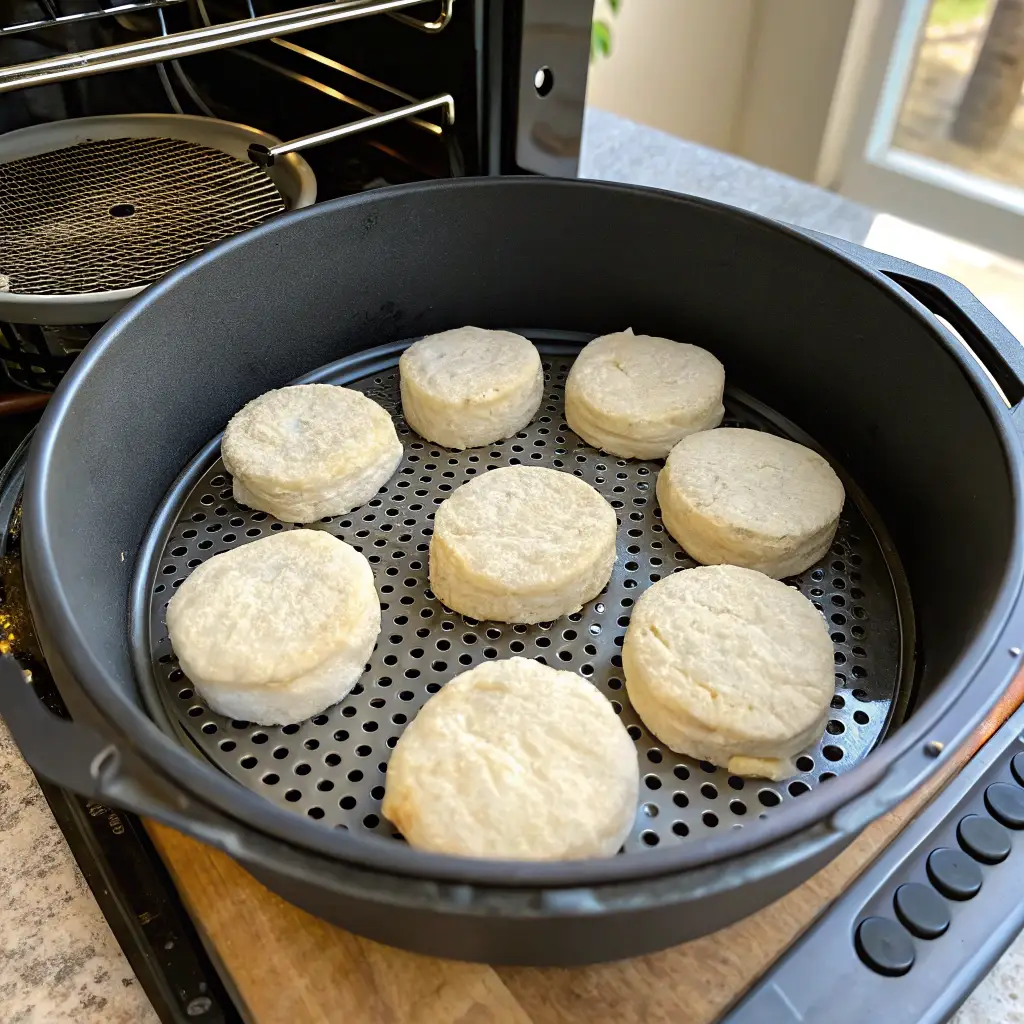
- Arrange the Biscuits
- Placement: Place your prepared biscuits in a single layer in the preheated basket. Ensure there’s a bit of space between each one to allow for proper air circulation. Depending on your air fryer’s size, you might need to cook in batches.
- Cooking Time and Temperature
- Set the Temperature: Maintain the air fryer at 390°F (200°C).
- Cook Time: Air fry the biscuits for 8-10 minutes. Around the 5-minute mark, it’s a good idea to check on them. If they’re browning too quickly on top, you can gently flip them to ensure even cooking.
- Check for Doneness
- Visual Cues: Your biscuits should have a golden-brown exterior and feel firm to the touch.
- Internal Check: If you’re unsure, insert a toothpick into the center of a biscuit; it should come out clean, indicating they’re cooked through.
Tips for Success
To make sure your air fryer biscuits turn out just right, keep these pointers in mind:
- Avoid Overcrowding
- Why It Matters: Packing too many biscuits into the basket can hinder proper air circulation, leading to uneven cooking.
- Solution: If you have a smaller air fryer, cook the biscuits in batches to ensure each one gets the attention it deserves.
- Monitor Closely
- Stay Vigilant: Air fryers can vary in performance, so keep an eye on your biscuits, especially during the last few minutes of cooking. This attentiveness helps prevent overcooking or burning.
- Adjust for Size
- Biscuit Thickness: Thicker biscuits might require a bit more time, while thinner ones could cook faster. Use your judgment and the visual cues mentioned earlier to determine doneness.
- Altitude and Humidity
- Environmental Factors: Believe it or not, your local climate can affect baking. If you’re in a high-altitude area or a particularly humid environment, you might need to make slight adjustments to cooking times or ingredient ratios.
By following these steps and tips, you’ll be well on your way to making golden, flaky biscuits that are sure to impress. The air fryer not only speeds up the process but also delivers a delightful texture that’s hard to beat.
Part 4: Exploring Variations and Serving Suggestions
Flavor Variations
Who says biscuits have to be plain? Let’s jazz them up a bit:
- Cheesy Goodness
- Add-Ins: Fold in shredded cheddar, Parmesan, or your favorite cheese into the dough.
- Tip: A sprinkle of garlic powder can give it a savory kick.
- Herb Infusion
- Add-Ins: Mix in chopped fresh herbs like rosemary, thyme, or chives.
- Tip: Dried herbs work too; just use a bit less since they’re more potent.
- Sweet Treats
- Add-Ins: Incorporate cinnamon and sugar, or toss in some chocolate chips.
- Tip: A drizzle of honey or a dusting of powdered sugar on top can make them extra special.
- Spicy Kick
- Add-Ins: Add diced jalapeños or a pinch of cayenne pepper to the dough.
- Tip: Pair with a sharp cheddar for a delightful contrast.
Serving Ideas
Now that your biscuits are ready, let’s think about how to enjoy them:
- Classic Pairings
- Butter and Jam: You can’t go wrong with a pat of butter and your favorite jam or honey.
- Gravy: Whip up some sausage gravy for a hearty breakfast.
- Breakfast Sandwiches
- Egg and Cheese: Slice a biscuit open and stuff it with a fried egg and cheese.
- Bacon or Sausage: Add some crispy bacon or a sausage patty for extra protein.
- Lunch or Dinner Sides
- Soup Companion: Serve biscuits alongside a warm bowl of soup or chili.
- Salad Partner: They make a great side for a fresh, crisp salad.
- Dessert Delight
- Strawberry Shortcake: Use sweetened biscuits as a base, topped with fresh strawberries and whipped cream.
- Peach Cobbler: Layer biscuit pieces over spiced peaches and bake until bubbly.
Storage and Reheating Tips
Reheating: Pop them back in the air fryer at 350°F for 2-3 minutes to regain that fresh-baked warmth.
Storing: Keep leftover biscuits in an airtight container at room temperature for up to two days.
Freezing: Wrap them individually and freeze for up to three months.
If you’re loving these air fryer biscuits, why not pair them with a delicious homemade coffee creamer for the perfect breakfast? Check out our Homemade Coffee Creamer (3 Ingredients) recipe—it’s simple, quick, and makes your morning coffee taste even better!
Now, let’s get back to making the best air fryer biscuits.
FAQs
Can I cook canned biscuits in an air fryer?
Do I need to preheat my air fryer before cooking biscuits?
How do I prevent biscuits from sticking to the air fryer basket?
Can I make frozen biscuits in the air fryer?
Conclusion
In wrapping up our journey into the world of air fryer biscuits, it’s clear that this modern cooking method offers a delightful twist on a classic favorite. By utilizing the air fryer’s rapid hot air circulation, we’ve discovered that biscuits can achieve a perfect balance: a crispy, golden exterior encasing a soft, fluffy interior.
The convenience factor is undeniable. Whether you’re whipping up a quick breakfast or complementing a hearty dinner, the air fryer streamlines the process, reducing both cooking time and kitchen cleanup. Moreover, the versatility to experiment with various flavors—from savory herbs to sweet cinnamon—opens up a realm of culinary possibilities.
As with any cooking endeavor, a bit of practice and attention to detail can make all the difference. By following the tips and techniques outlined in this guide, you’re well on your way to consistently producing biscuits that are not only delicious but also tailored to your personal taste.
So, dust off that air fryer, gather your ingredients, and embark on this biscuit-making adventure. The perfect batch of air fryer biscuits awaits you, promising both satisfaction and a newfound appreciation for this innovative cooking approach.