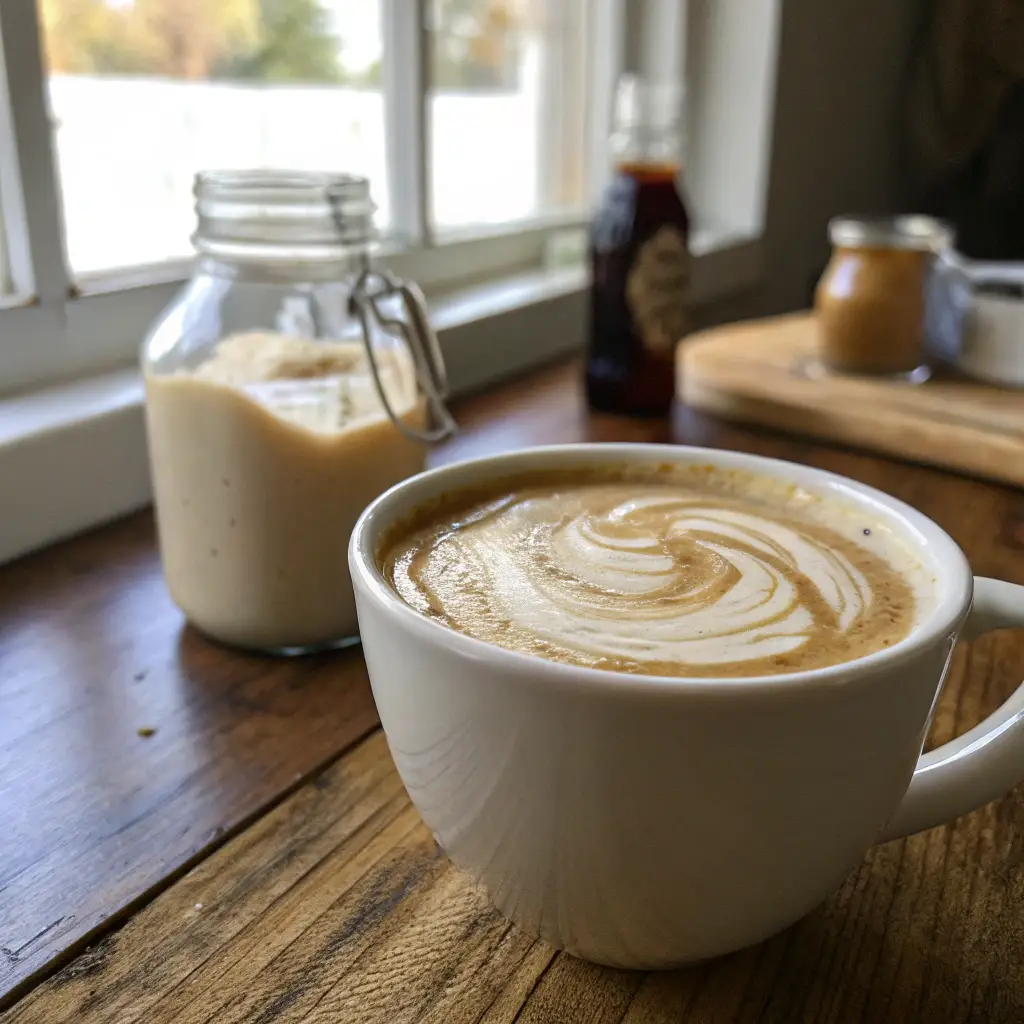
Let’s be real—mornings are rough. And if you’re anything like me, the only thing that makes them bearable is coffee. But not just any coffee—a rich, creamy, perfectly flavored cup that tastes like something from a fancy café.
Now, sure, you could grab a bottle of store-bought coffee creamer, but have you ever checked the ingredient list? Yikes. Half the stuff in there sounds like it belongs in a chemistry lab, not in your morning brew.
That’s where homemade coffee creamer comes in. With just three simple ingredients, you can whip up a delicious, customizable creamer that’s healthier, cheaper, and (let’s be honest) tastier than anything you’ll find on the shelves. Plus, you’ll never have to worry about running out again—because making it takes literally two minutes.
In this article, we’re covering everything: why homemade beats store-bought, the easiest 3-ingredient recipe, and how to spice things up with fun flavor variations. Oh, and don’t worry—I’ll also give you some pro tips on how to store it and make it last longer.
So, if you’re ready to make your coffee ten times better with barely any effort, let’s get started. ☕✨
Table of Contents
The Appeal of Homemade Coffee Creamer
Why Store-Bought Coffee Creamers Kinda Suck
Ever flipped over a bottle of your favorite coffee creamer and actually read the ingredients? Yeah, me neither—until I did. And let me tell you, I was shook.
- Loaded with weird additives – From artificial flavors to stabilizers and hydrogenated oils, commercial creamers are packed with stuff your body definitely doesn’t need.
- Sugar bombs in disguise – Some brands sneak in a ton of sugar (or worse, corn syrup), which can spike your blood sugar before you even finish your first cup.
- Dairy? Maybe. Maybe not. – Most coffee creamers aren’t even real cream! They’re made from a mix of vegetable oils and thickeners to fake that creamy texture.
- Expensive as heck – Let’s be honest, $5 for a tiny bottle that barely lasts a week? Hard pass.
Why Homemade Creamer is a Game-Changer
Now that we’ve roasted (ha!) store-bought creamers, let’s talk about why making your own is the best move.
✔ It’s healthier – When you make it yourself, you control what goes in. No mystery ingredients, no weird aftertaste—just pure, delicious goodness.
✔ It tastes fresher – Ever noticed that funky, artificial flavor in store-bought creamers? You won’t get that with homemade.
✔ It’s totally customizable – Love vanilla? Cool. Want a dash of cinnamon? Do it. Feel like adding a little chocolate? Why not? When you DIY, the possibilities are endless.
✔ It saves money – A batch of homemade coffee creamer costs way less than the fancy stuff at the store. And you can make as much (or as little) as you want.
✔ No last-minute grocery runs – You’ll never wake up and panic because you forgot to grab creamer. As long as you have milk, sweetened condensed milk, and an extract of your choice, you’re golden.
What People Say After Switching to Homemade
Honestly, once you try it, you won’t go back. People say their coffee tastes richer, their mornings feel cozier, and they love that they can tweak the flavors to fit their mood.
So, are you convinced yet? Because we’re about to get to the fun part—actually making it. 🎉
The Basic 3-Ingredient Coffee Creamer Recipe
Essential Ingredients and Their Roles
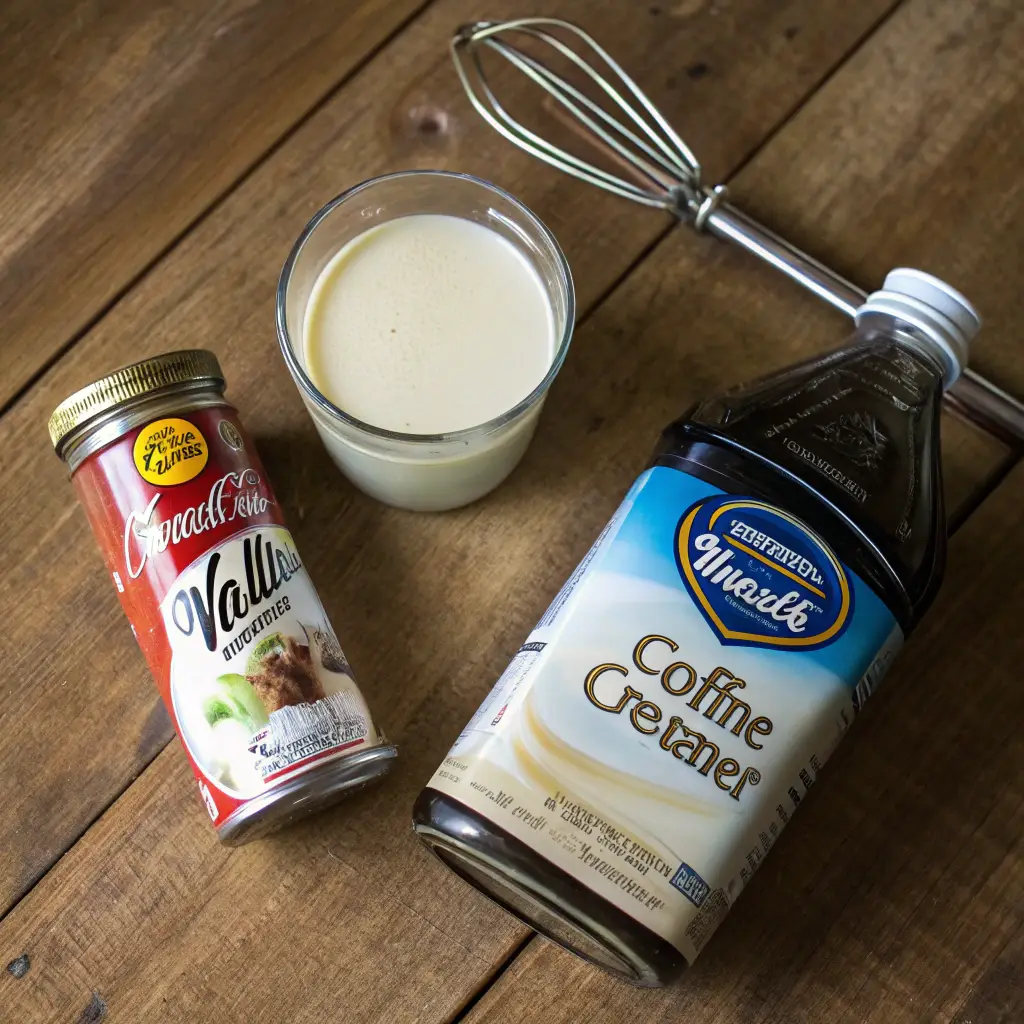
Crafting your own coffee creamer at home is a breeze, especially when you know the key players involved. Here’s what you’ll need:
- Sweetened Condensed Milk: This thick, sugary milk is the backbone of our creamer. It brings that delightful sweetness and velvety texture we all crave in our morning cup.
- Half-and-Half or Milk: Depending on your preference, you can use half-and-half for a richer taste or regular milk for a lighter version. This component balances the sweetness and ensures your creamer blends smoothly into coffee.
- Flavoring Extract (e.g., Vanilla): A splash of vanilla extract adds a comforting aroma and flavor. Of course, you can experiment with other extracts like almond or hazelnut to suit your taste.
Step-by-Step Preparation Guide
Ready to whip up your own creamer? Follow these simple steps:
- Gather Your Ingredients: Ensure you have a 14-ounce can of sweetened condensed milk, 1¾ cups of half-and-half or milk, and 1-2 teaspoons of your chosen flavoring extract.
- Combine in a Jar: Pour the sweetened condensed milk and half-and-half into a quart-sized mason jar. Add the flavoring extract.
- Mix It Up: Seal the jar tightly and give it a good shake until everything is well blended. If you prefer, you can whisk the ingredients together in a bowl and then transfer the mixture to a container.
- Store Properly: Keep your homemade creamer in the refrigerator. It should stay fresh for up to two weeks, but always check the expiration date on your milk or half-and-half.
Tips for Achieving the Perfect Consistency
To ensure your creamer is just right:
- Adjusting Thickness: If you like a thicker creamer, opt for half-and-half or even a mix of milk and heavy cream. For a lighter version, stick with regular milk.
- Sweetness Level: Taste your creamer before adding it to coffee. If it’s too sweet, add a bit more milk to dilute. Not sweet enough? Stir in a touch of sugar or more sweetened condensed milk.
- Flavor Intensity: Start with a small amount of extract, especially if you’re trying a new flavor. You can always add more, but you can’t take it out once it’s in there.
- Mixing Matters: Ensure all ingredients are thoroughly combined to prevent separation. Giving the jar a quick shake before each use can help maintain consistency.
By following these steps and tips, you’ll have a homemade coffee creamer that’s tailored to your taste, free from unnecessary additives, and ready to make your mornings a bit brighter.
Flavor Variations to Elevate Your Coffee Experience
One of the best parts about making your own coffee creamer is the endless flavor possibilities. Let’s explore some popular variations:
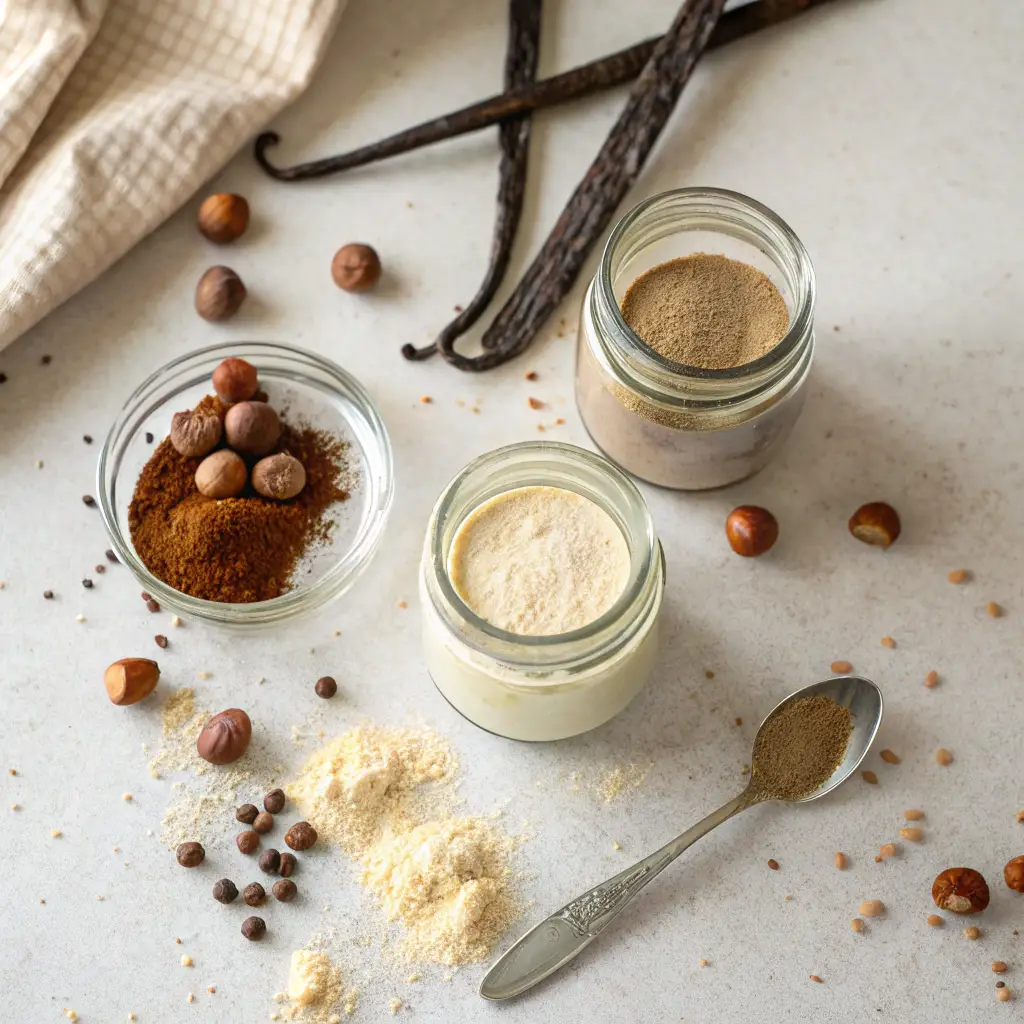
Classic Favorites
- French Vanilla: Add 2 teaspoons of vanilla extract to the base recipe. For a more intense flavor, consider using vanilla bean paste or adding a split vanilla bean to the mixture and letting it infuse overnight.
- Hazelnut: Incorporate 2 teaspoons of hazelnut extract. This nutty addition pairs wonderfully with the creamy base, offering a cozy, aromatic touch to your coffee.
- Mocha: Mix in 2 tablespoons of unsweetened cocoa powder and 1 teaspoon of chocolate extract. Ensure the cocoa powder is fully dissolved to avoid any graininess.
Seasonal Delights
- Pumpkin Spice: Blend in 2 tablespoons of pumpkin puree, 1 teaspoon of pumpkin pie spice, and 1 teaspoon of vanilla extract. This combination brings the comforting flavors of fall right into your cup.
- Peppermint Mocha: Combine 2 tablespoons of cocoa powder with 1 teaspoon of peppermint extract. This festive mix is perfect for the holiday season.
- Cinnamon Roll: Add 1 teaspoon of ground cinnamon and 1 teaspoon of vanilla extract. For an extra touch, a drop of almond extract can mimic that sweet, bakery-fresh flavor.
Health-Conscious Alternatives
- Sugar-Free Options: Replace the sweetened condensed milk with a sugar-free version or make your own using a sugar substitute like stevia or erythritol.
- Dairy-Free Creamers: Substitute the half-and-half or milk with almond milk, coconut milk, or oat milk. Ensure you use unsweetened versions to control the sweetness.
- Low-Fat Versions: Opt for skim milk or a low-fat plant-based milk to reduce the calorie content without sacrificing creaminess.
By experimenting with these variations, you can create a personalized coffee creamer that suits your taste preferences and dietary needs. Enjoy the process, and don’t be afraid to get creative!
Incorporating Homemade Creamer into Your Daily Routine
Now that you’ve got your perfect homemade coffee creamer, let’s talk about how to actually use it beyond just pouring it into your cup of joe. Whether you’re a casual coffee drinker or a full-blown caffeine addict (no judgment), these tips will help you make the most of your fresh, delicious creamer.
Pairing Suggestions for Different Coffee Types
Not all coffees are created equal, and neither are coffee creamers. Different flavors complement different roasts, so here’s how to match ‘em up:
☕ Light Roast + Vanilla or Hazelnut Creamer – Light roasts have delicate, slightly fruity notes. A sweet vanilla or nutty hazelnut creamer balances them beautifully.
☕ Medium Roast + Mocha or Caramel Creamer – Medium roasts tend to have a rich, balanced flavor. Adding a chocolatey or caramel creamer gives them a cozy, dessert-like taste.
☕ Dark Roast + Cinnamon or Peppermint Creamer – Dark roast lovers, this one’s for you. Since dark roasts have bold, smoky flavors, a little cinnamon or peppermint adds a festive, spicy kick without overpowering the coffee.
☕ Espresso + Sweetened Condensed Milk Creamer – Ever tried Vietnamese coffee? Mixing a strong espresso shot with a condensed milk-based creamer makes for a thick, indulgent, almost dessert-like drink.
☕ Iced Coffee + French Vanilla or Coconut Creamer – Some flavors just hit differently when cold. French vanilla and coconut add a smooth, refreshing twist to iced coffee that makes it feel like a treat.
Creative Uses Beyond Coffee
Believe it or not, your homemade coffee creamer isn’t just for coffee! Try using it in these fun ways:
🍵 Tea Latte – Stir a splash of vanilla or hazelnut creamer into black tea for an instant tea latte. (Try chai + vanilla creamer—it’s heavenly.)
🥞 Pancake or Waffle Batter – Replace some of the milk in your pancake batter with flavored creamer for an extra-decadent breakfast.
🍮 Overnight Oats – Swap regular milk for creamer in your overnight oats to make them extra creamy and flavorful. Mocha creamer + oats? Yes, please.
🍪 Baking – Use your creamer in muffins, cookies, or even frosting for a subtle coffeehouse vibe.
🍨 Ice Cream Drizzle – Warm up a bit of creamer and drizzle it over vanilla ice cream. You can thank me later.
Storage and Shelf-Life Considerations
Homemade creamers don’t have the same crazy-long shelf life as store-bought ones, but with proper storage, they’ll stay fresh for a solid two weeks.
🧊 Refrigeration is key – Always store your creamer in the fridge in an airtight container. Glass jars or bottles work best.
❄️ Shake before using – Since homemade creamers don’t have stabilizers, they can separate over time. Just give it a good shake before pouring.
⏳ Watch the expiration dates – The freshness of your creamer depends on the milk or half-and-half you use. If your dairy expires in a week, so will your creamer.
👃 The sniff test never fails – If it smells funky or tastes off, it’s time to toss it. No one wants spoiled milk vibes in their morning cup.
f you’re a fan of rich, creamy coffee drinks, then you might love Breve Coffee—a delicious espresso-based drink made with steamed half-and-half. Since you’re already making your own homemade coffee creamer, why not try using it in a Breve? This velvety coffee drink pairs beautifully with flavored creamers, making each sip extra indulgent.
👉 Check out this detailed guide on how to make Breve Coffee at home!
This way, you can use your homemade creamer in a new way and explore another fantastic coffee experience! ☕✨
FAQs
Can I use non-dairy milk alternatives in the creamer?
Absolutely! Substituting dairy milk with options like almond, soy, or oat milk works well. This caters to those who are lactose intolerant or prefer a vegan lifestyle. Just ensure to choose unsweetened versions to control the sweetness of your creamer.
How long does homemade coffee creamer last?
Typically, homemade creamer can be stored in the refrigerator for up to two weeks. However, it’s essential to check the expiration date of the milk or cream used, as this will influence the creamer’s shelf life. Always store it in an airtight container to maintain freshness.
Is it possible to make a sugar-free version?
Yes, you can! To create a sugar-free creamer, replace the sweetened condensed milk with a sugar-free alternative or make your own using unsweetened condensed milk combined with a preferred sugar substitute like stevia or erythritol. This way, you can enjoy a guilt-free addition to your coffee.
What are some unique flavor combinations to try?
The possibilities are endless! Here are a few inventive ideas:
Caramel and Sea Salt: Mix in caramel sauce and a pinch of sea salt for a sweet and savory twist.
Lavender and Honey: Infuse dried culinary lavender in warm milk, then sweeten with honey for a floral note.
Almond and Coconut: Combine almond extract with coconut milk to create a nutty, tropical flavor.
Feel free to experiment with different extracts, spices, and natural flavorings to discover your favorite blend.
Can I froth homemade creamer for lattes?
Definitely! Homemade creamers can be frothed just like store-bought versions. Use a milk frother, French press, or simply shake the creamer vigorously in a sealed jar to achieve a foamy consistency. This frothy addition can elevate your homemade lattes and cappuccinos to a café-quality experience.(source)
Conclusion
n wrapping up, crafting your own homemade coffee creamer is a simple yet rewarding endeavor. By using just three basic ingredients—sweetened condensed milk, milk or cream, and your choice of flavoring—you gain full control over what goes into your morning brew. This means no more unpronounceable additives or artificial flavors; instead, you enjoy a natural, delicious enhancement to your coffee.
Moreover, the flexibility to experiment with various flavors allows you to tailor your creamer to your personal taste, making each cup of coffee a unique experience. Whether you’re drawn to classic vanilla, indulgent mocha, or seasonal favorites like pumpkin spice, the possibilities are endless.
Beyond the superior taste and customization, making your own creamer can be more cost-effective than purchasing commercial options, especially if you regularly enjoy flavored coffees. Plus, it’s a fun and creative process that can add a touch of joy to your daily routine.
In essence, homemade coffee creamer offers a healthier, tastier, and more personalized alternative to store-bought versions. So why not give it a try? Your morning cup of coffee might never be the same again.